Please note: Import is only available for users with the ‘Import’ permission enabled.
The import feature offers different information depending on if you are a Premium or a free company.
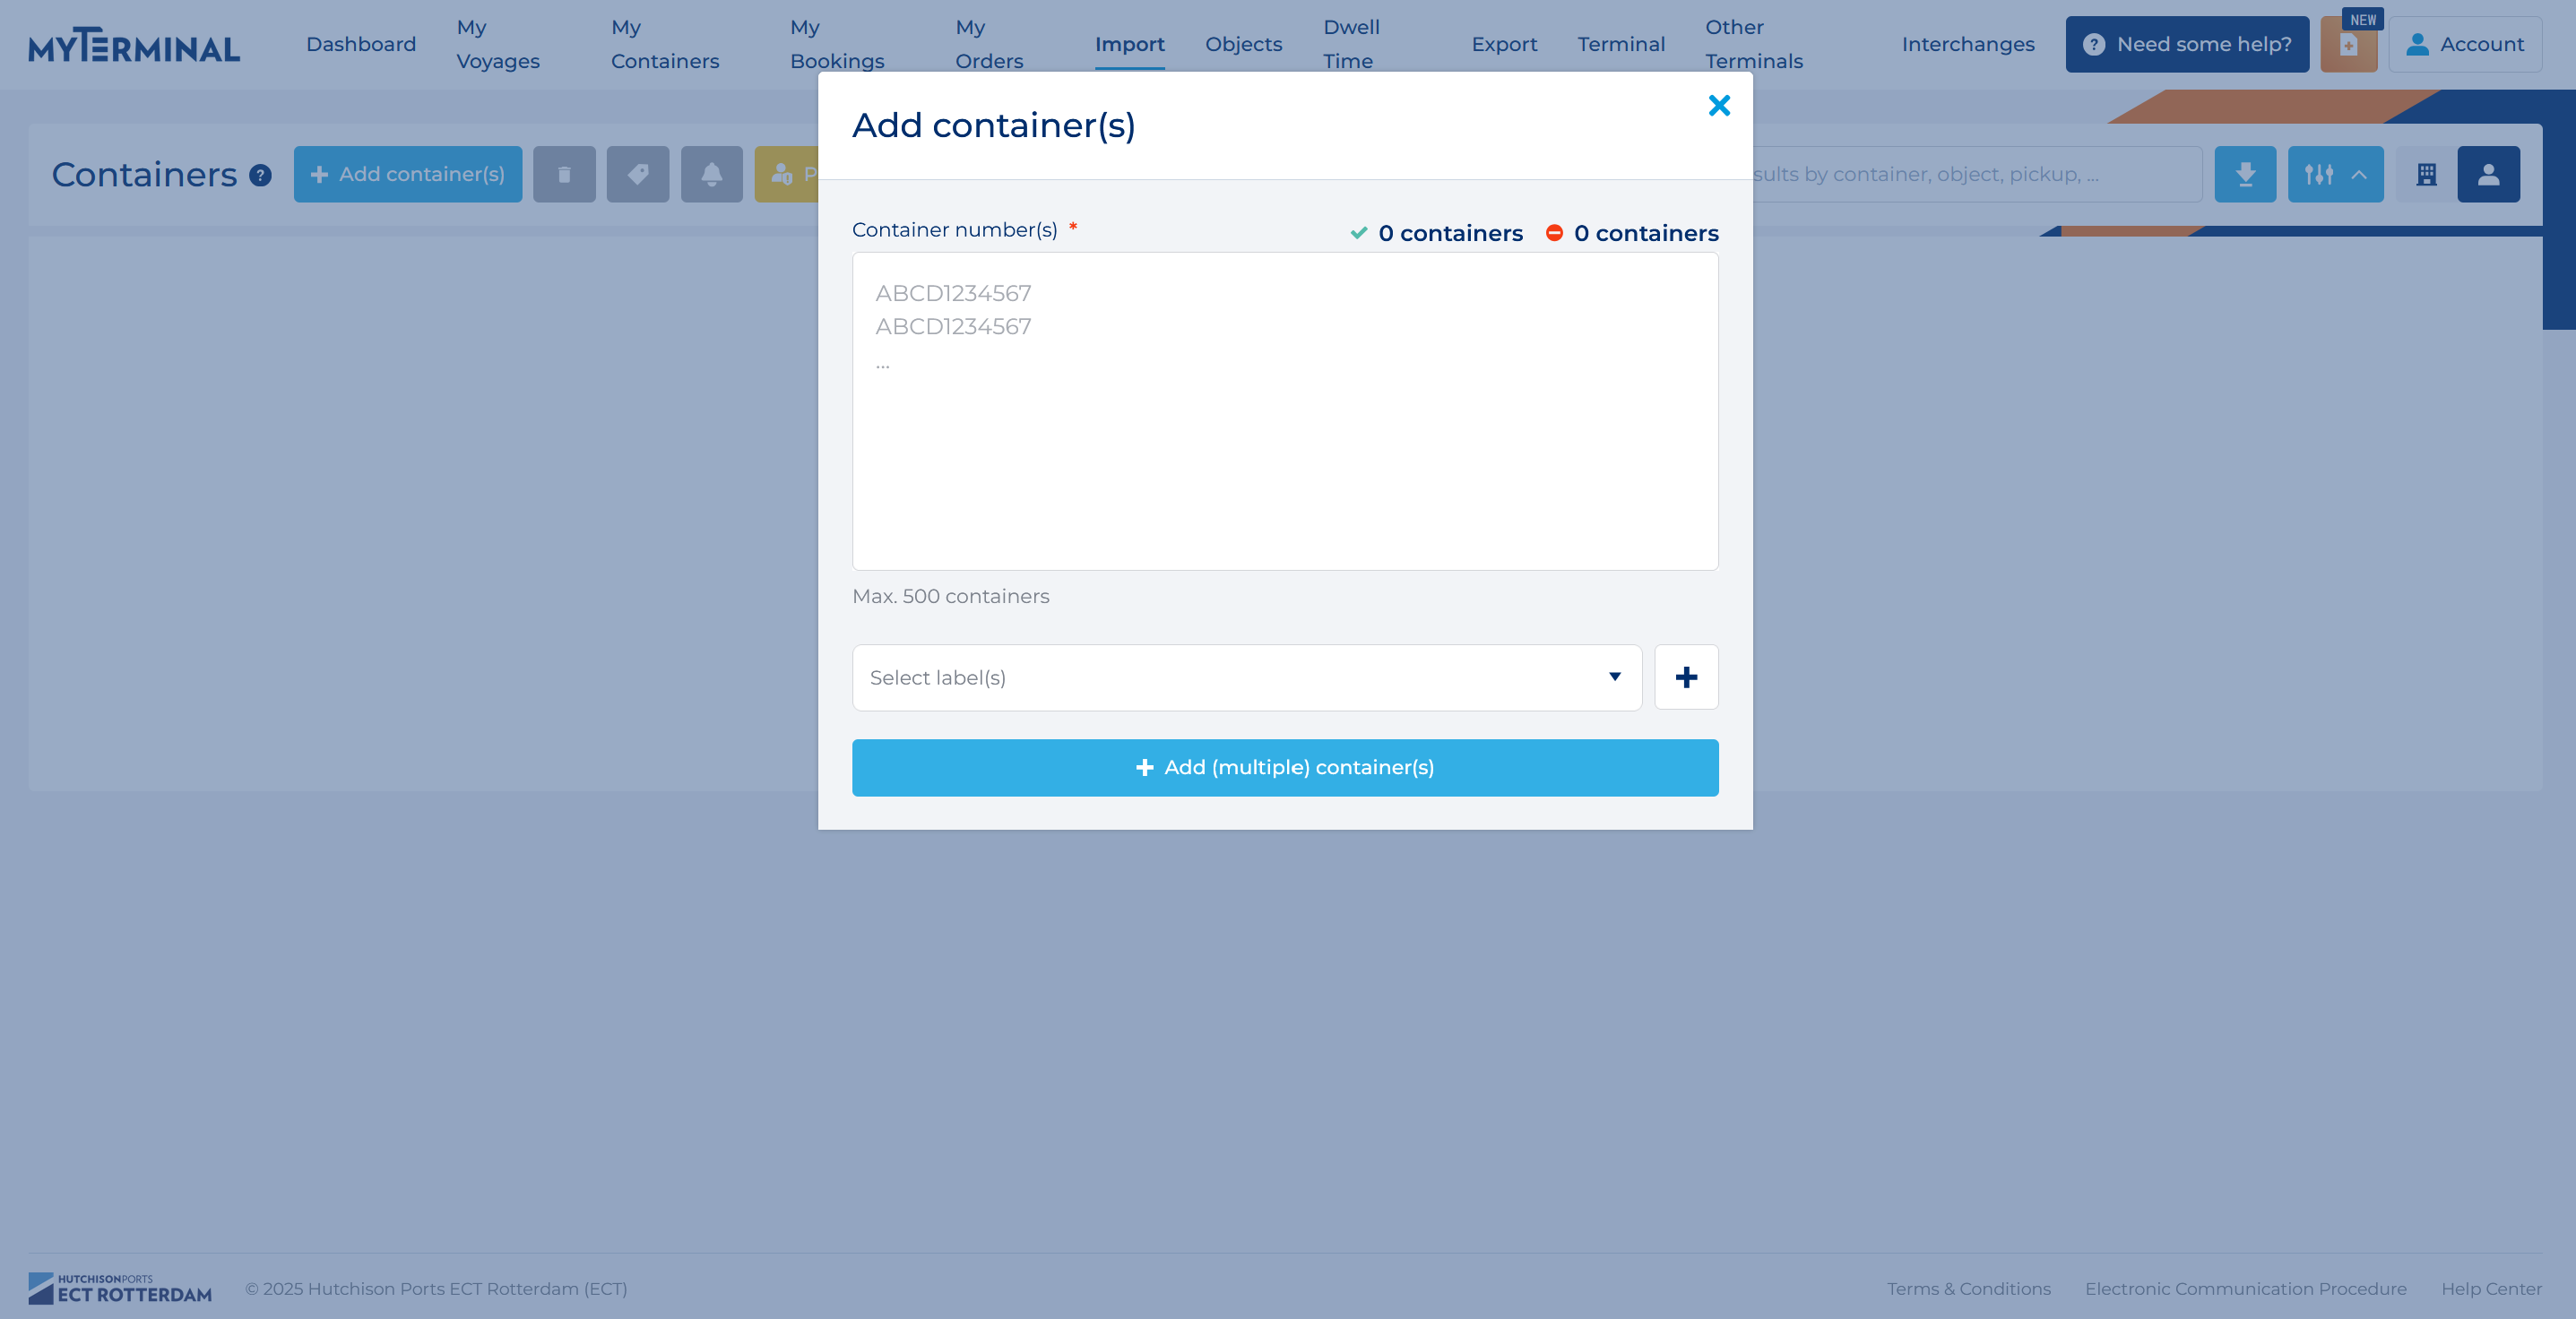
On the Import page, you can track the Import containers you’re interested in. Add a container by clicking the ‘Add container(s)’ button. A modal will open, in which you can add one or multiple containers. Paste or type a list of container numbers in the box on the left. Click the ‘Add (multiple) container(s) button to add the containers.
Below you have an overview of which information you can view

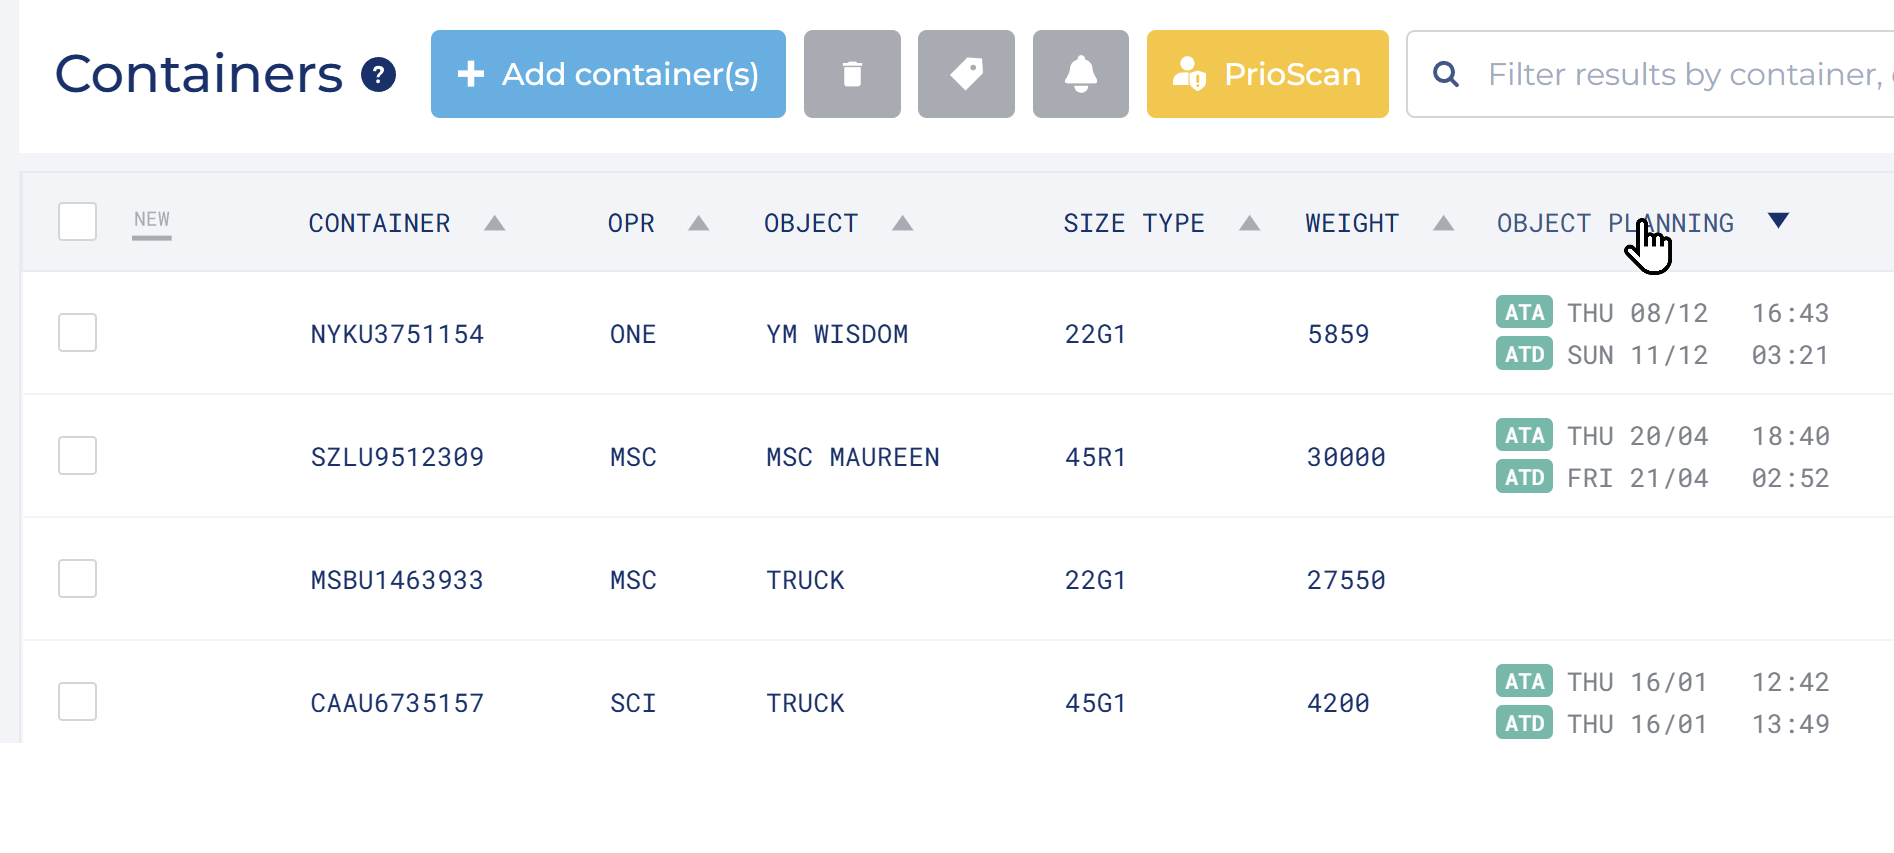
When you’ve added a container, you can see information about the container in the list. The following columns are available:
In the column for expected pickup we will communicate the expected terminal on which the container can be picked up. Icons will indicate the presence of available Export containers.

Hovering over the the arrows gives you more information about the status and definition.


Two arrows, with one container a red cross (X) means that there are no Export containers available for that specific transfer zone.
Two green arrows means that there are Export containers available.
Ready
The container is pre-announced and present on our terminal, you can pick-up the container.
Action required
There is something that requires your attention, before you are able to pick-up the container.
No Action required
Information regarding the container or the release. By uploading the correct release number some of the messages will disappear.
Blocked
The container is blocked. The reason is displayed in the message.
 Examples of container status
You can delete containers you’re no longer interested in. Select one or multiple containers and click the ‘Delete’ button.

To confirm your decision, click “Yes, delete”. If you have accidentally deleted an container that you didn’t want to delete, click Cancel.


You can sort the container list by any column you want to. Click the column name in the gray bar to sort the list. Click again to change the sorting order from ascending to descending. You can sort by latest added container by clicking on ‘New’.
You can filter the container list on any value you want to. Click the ‘Filter your list’ button to expand the filter menu. All available values are shown per column. Click the checkbox for a value to apply the filter. Additionally, search for anything in your list by using the search field next to the filter button.

In addition to the filters based on container characteristics, you can filter on ‘Company’ and ‘Personal’. When the ‘Company’ filter is enabled, you’ll see all containers that are added within your company. When the ‘Personal’ filter is enabled, you’ll only see containers that you added.

It is possible to add labels to Import containers. Select one or more containers and click the ‘Labels’ button.
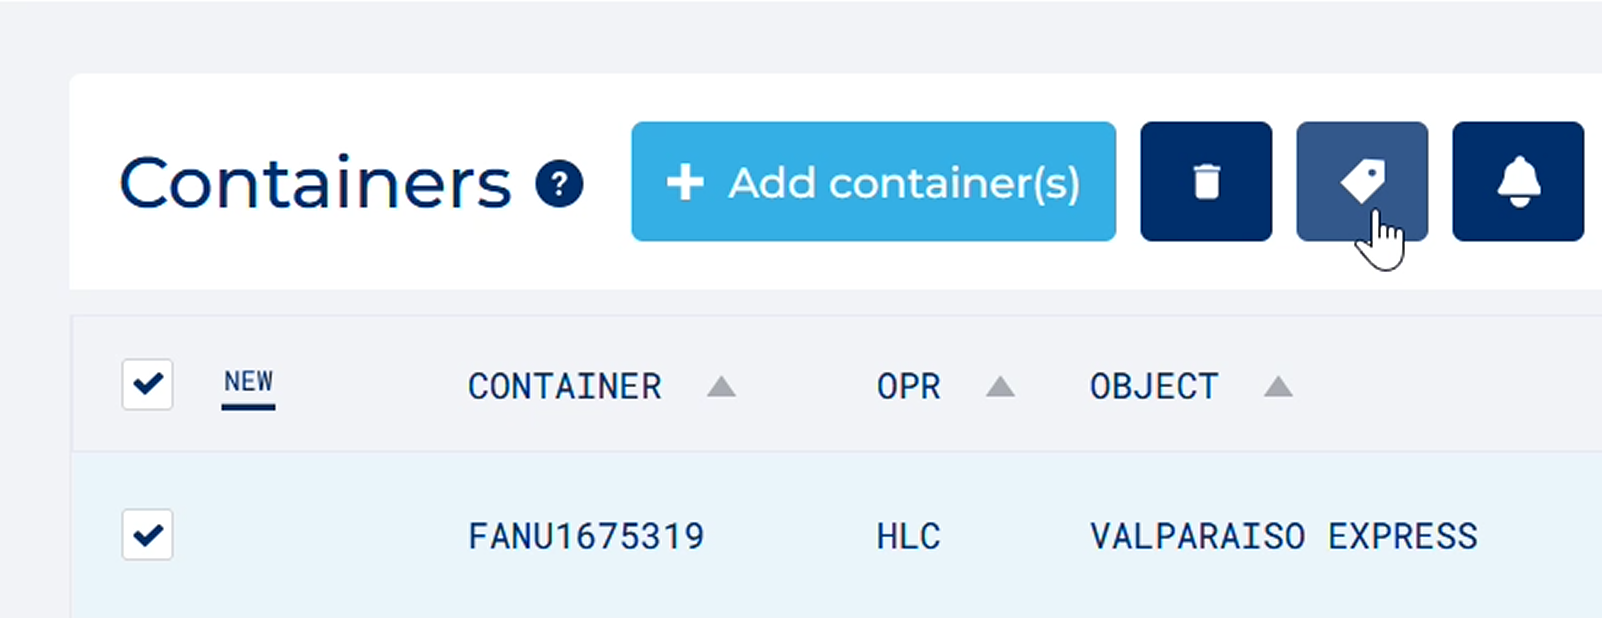
After selecting a label, the labels are visible in the ‘Labels’ column.

For information about adding notifications to Import containers
You can see detailed container information by clicking on a container in the list. Here you will see the ‘Overview’, ‘Detail information’, and ‘Documents’ tabs.
Overview
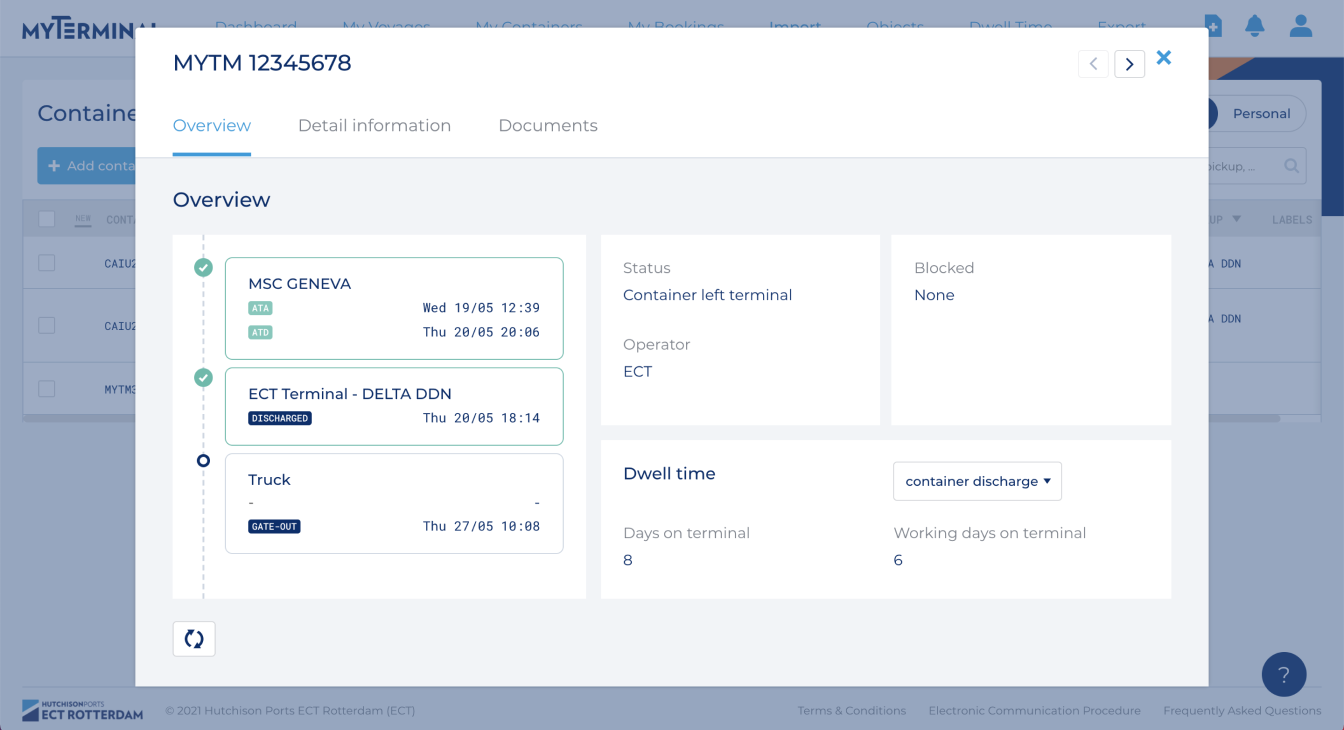
Detail information

Documents

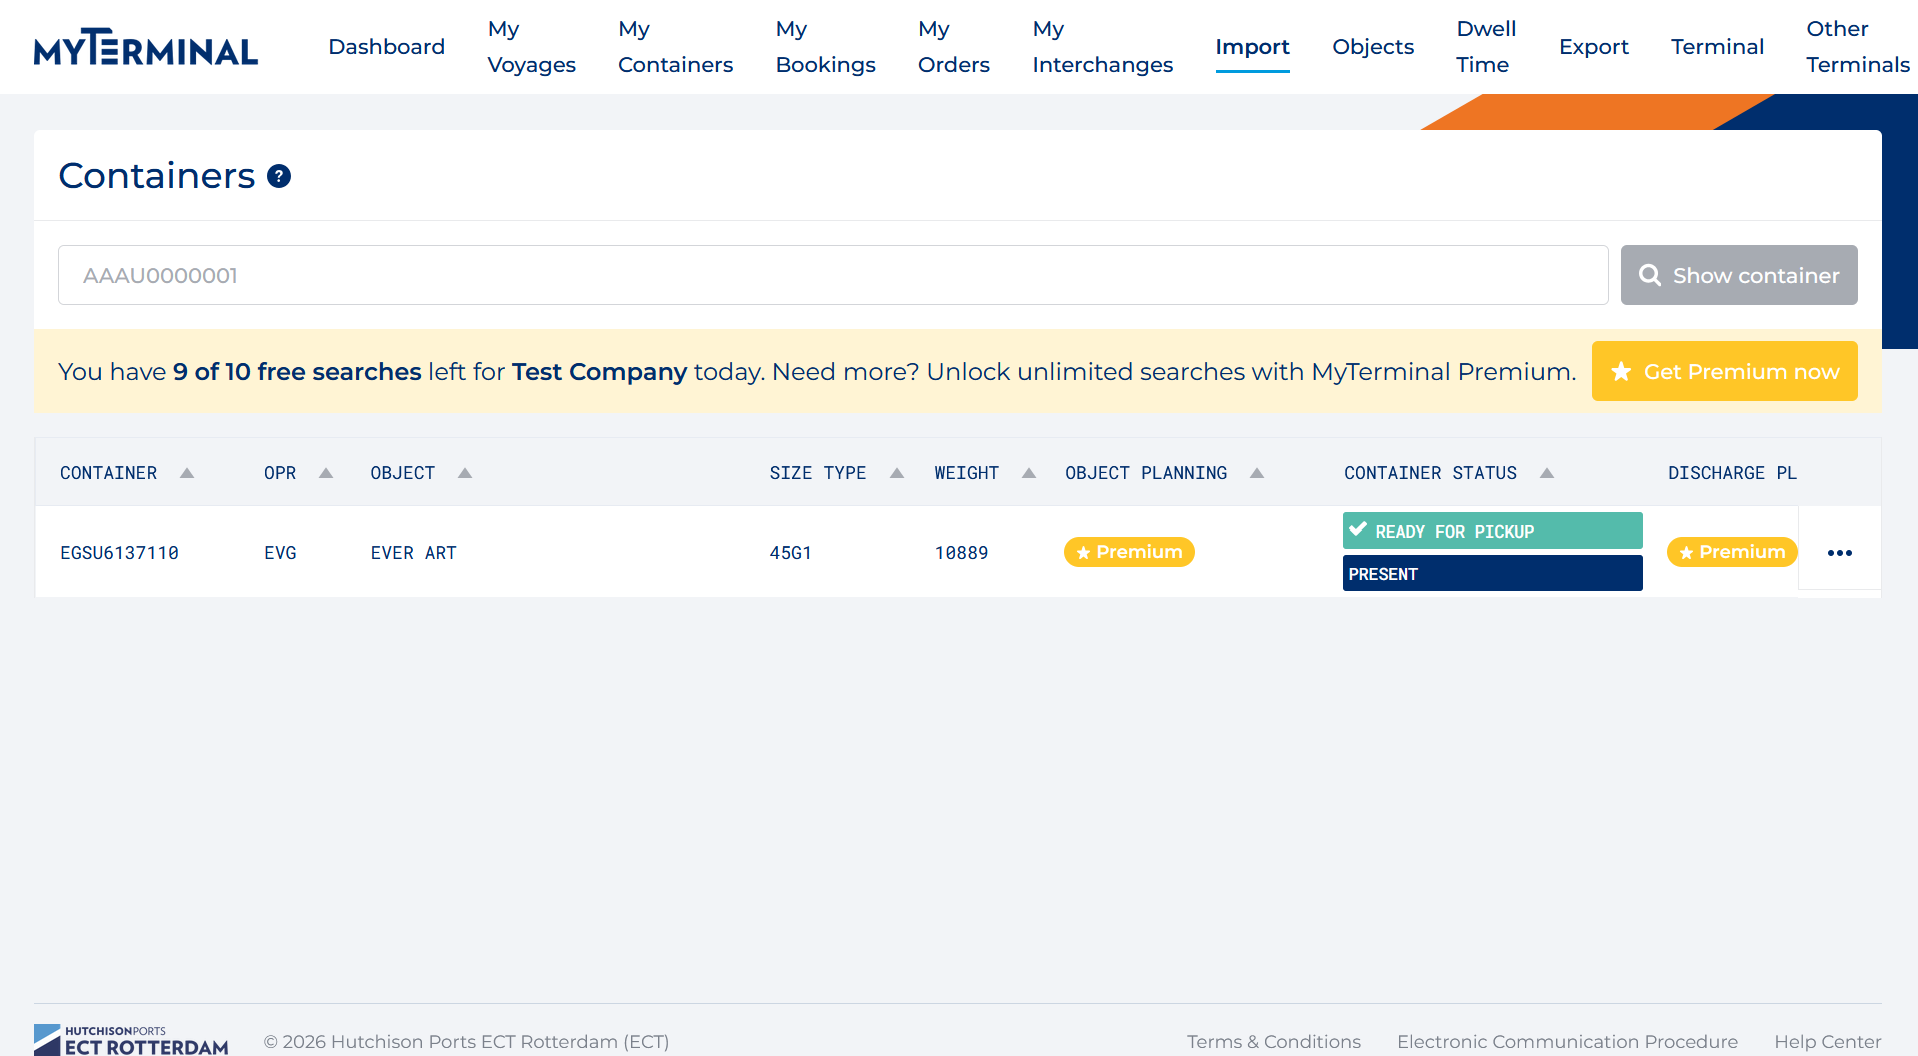
It's possible to search for 10 containers per day as a free company. You can search for one container at a time.
If you'd like to access more functionality, unlimited searches, enable notifications and much more. Take a look at MyTerminal Premium for the endless possibilities.
Please note: this information will not be updated automatically.